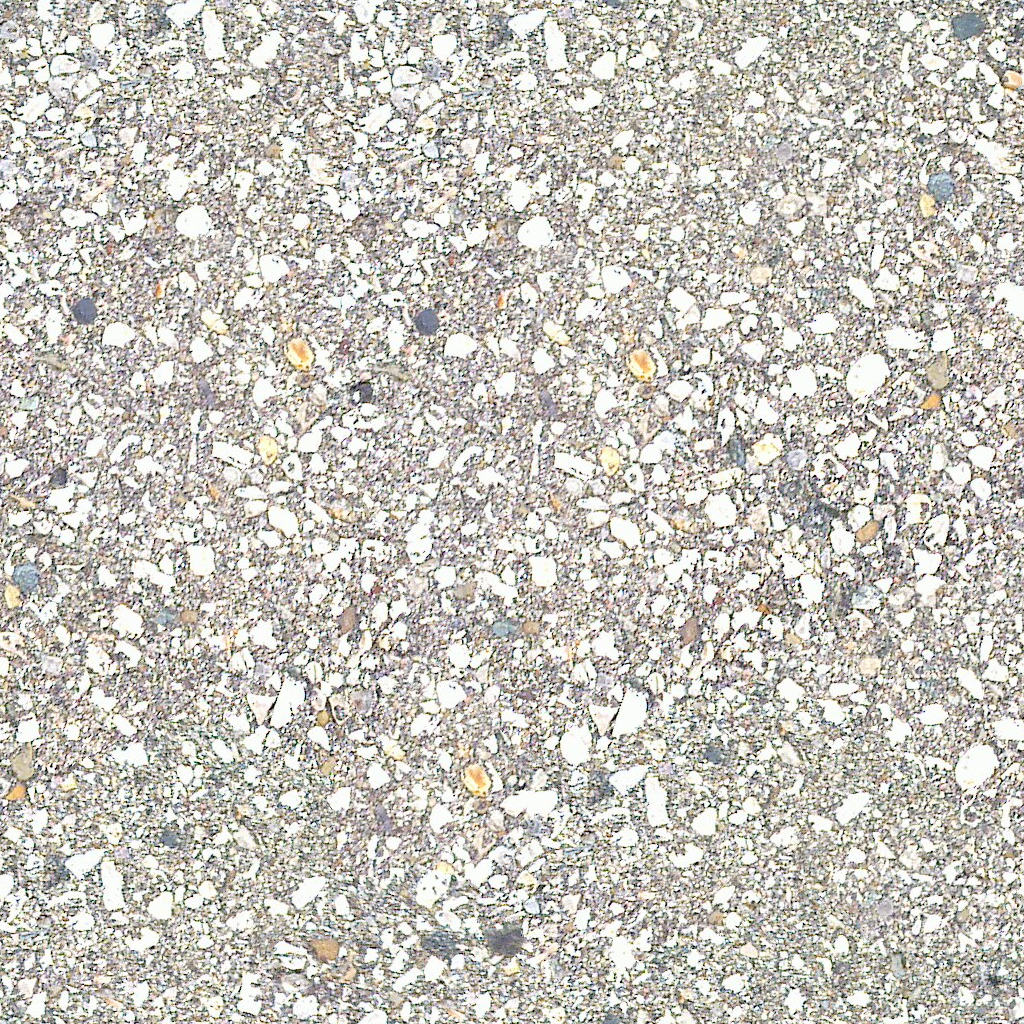
Tiling Tarmac - tarmac_light_0.png
Friday, April 27, 2012 - 15:58
License(s):


The authors of this content agree to license it under later versions of the licenses they selected above.
Texture Dimensions:
1024x1024
File(s):
Art:
Texture Pack Description:
A quicke tilable (1024x1024) version of the tarmac texture posted here:
http://opengameart.org/content/weathered-tarmac
Also quickly made a darker version; png because that is lossless.
Created with the GIMP resynthesizer plugin:
http://www.logarithmic.net/pfh/resynthesizer
And this instructions:
- Open source image in Gimp.
- Select a area in the image to be used for the texture. It must be fairly uniform in the tonal range and have sides that is power of two (32x32, 64x64, 128x128, 128x64, etc.) to be video card friendly.
- Copy and paste the area into a new image.
- Apply the high-pass filter, called Resynthesize in Gimp (Filters/map/resynthesize)
- Offset the image by choosing 'Image > Transforms > Offset' or press Ctrl+Shift+O. Offset by x/2 and y/2. to check if it tiles correctly
- Use clone, smudge and other tools to erase the visible seam. (was not necessary in this case)
- Offset again to get the image back to normal.
- Possible run the high-pass filter again to remove any low-frequency features introduced by you. (was not necessary in this case)